QR Code Generator for Calculated Fields Form
Compatible with CFF: Free Professional Developer Platinum
The QR Code Generator for the Calculated Fields Form plugin creates dynamic QR codes based on the data collected by CFF forms.
The QR Code Generator for the Calculated Fields Form plugin creates dynamic QR codes based on the data collected by CFF forms. Plus, it's super easy to integrate, the generated QR code image can be embedded directly into notification emails and thank you pages simply by using the <%qrcode%> tag.
The "Pages Number" bar includes one item per page, from one to the number of form's pages. Each bar member is a link to the corresponding page to facilitate navigation. It highlights the item for the active page.
The installation process for the "CFF QRCode Generator" plugin is very straightforward, just like any other WordPress plugin. Here's what you need to do:
- Download the zip file containing the plugin's code (you can get this from the download link provided after your purchase).
- In your WordPress dashboard, go to the Plugins section.
- Click the "Add New" button at the top of the page.
- Next, click "Upload Plugin" and choose the zipped file you downloaded.
- Finally, install and activate the plugin.
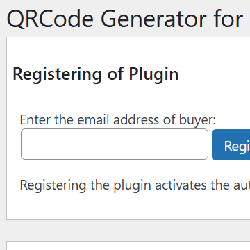
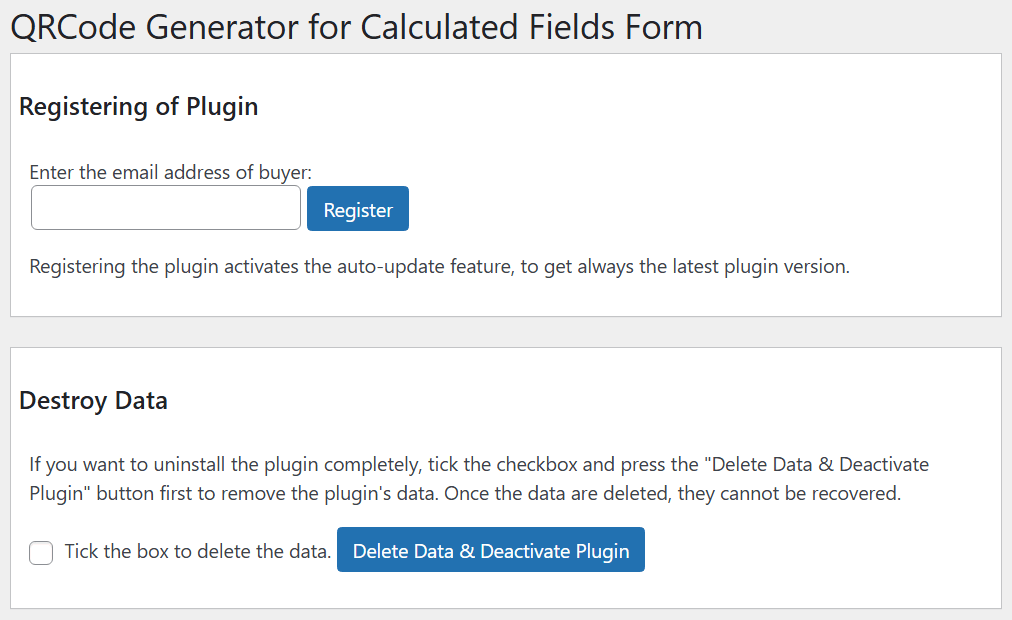
Once activated, you'll notice a new menu option: "Calculated Fields Form > QRCode Generator". From this page, you can register your plugin copy to receive updates directly from your WordPress dashboard, no need to manually download and install them every time. Additionally, this page gives you the ability to deactivate the plugin completely or delete its settings.
To register the plugin, simply navigate to "Calculated Fields Form > QRCode Generator" in your WordPress dashboard. Then, enter the email address you used to purchase the plugin and click the "Register" button. This will activate automatic updates and streamline your plugin management.
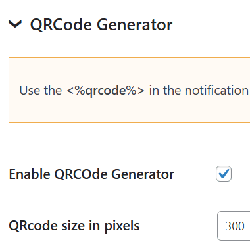
After installing the plugin, you'll notice a new section in your form's settings dedicated to activating and configuring the QRCode generator.

In this section, you can:
- Enable or disable the QRCode generator for the form using a simple checkbox.
- Specify the image size for the generated QR Code.
- Enter the text that will be used to generate the QR Code. You can insert fields and informative tags—just like in notification emails (see: https://cff.dwbooster.com/documentation#special-tags). If you want the QR Code to contain all the information submitted through the form, simply use the <%INFO%> tag.
- For forms integrated with a payment gateway, choose when the QR Code should be generated: either immediately after form submission or only after receiving payment confirmation.
Please note: If you've set the form to generate the QR Code after receiving payment confirmation and would like it to appear in your emails, make sure that those emails are also configured to be sent after payment confirmation.
To display QR codes in your notification emails and thank you pages, you simply insert the <%qrcode%> tag, much like you do with other fields and informative tags.
For notification emails, just include <%qrcode%> wherever you want the QR code to appear.
For thank you pages, add the tag within the results shortcode like this:
[CP_CALCULATED_FIELDS_RESULT]<%qrcode%>[/CP_CALCULATED_FIELDS_RESULT]
This setup makes it really easy to incorporate QR codes into your communications.
Screenshots